Setup: Edit Actions for P2P
In this doc you can find instruction on how to do the initial setup to allow users to edit their action in CS P2P.
General settings and pages
In the main WordPress sidebar settings you can find the general setting at CampaignSuite > P2P
Here you can set the following:
- Slug for edit page: What should the users add to the url to enter the edit or authentication form, e.g. /edit
- Send link content page: The page that contains the Authenticate form (see below)
- Edit action content page: The page that contains the Edit action form (see below)
- Invalidate token after minutes: The number of minutes before a token (edit link) is valid, so how much time does a user have to use their magic link.
- Sessions are valid for minutes: How many minutes will a session remain valid, so how long can a user use the edit form before it needs a new magic link.
Before any changes to the permalink structure (url scheme) work properly, the permalink page has to be saved.
To do this go to Settings > Permalink in the main admin sidebar and click the Save changes button.

To keep the frontend as flexible as possible, the plugin uses pages to the show the login and authentication form. Once these pages are selected in the settings, they can not be accessed directly anymore (via their slugs) and will be marked in the overview as such.
Authenticate / Login page
This page needs at least the Authenticate from, but can also contain an element that show the notifications regarding the login process, like expired session or invalid tokens. If the element is not added the messages will be prepended to the page content, but this can result in unexpected styling so the use of the element is preferred.

Edit Action page
This page needs at leas the Edit action form, but can also contain a stop editing button. This button invalidates the session and returns the user to the action page.
Forms settings
Create action form
To be able to check the email adres in the authenticate form, we save the email used in the create action form on the post type. Therefore we need to map the field used to collect an email address (or any other value that you want to use for authentication) to the Edit access token in the P2P | Create a new Action feed action.

This setting will fill the cs_p2p_access_token meta field on the post. If you even need to change the access token (email address used to request an edit link) you can update this field.

Legacy settings for the create action form
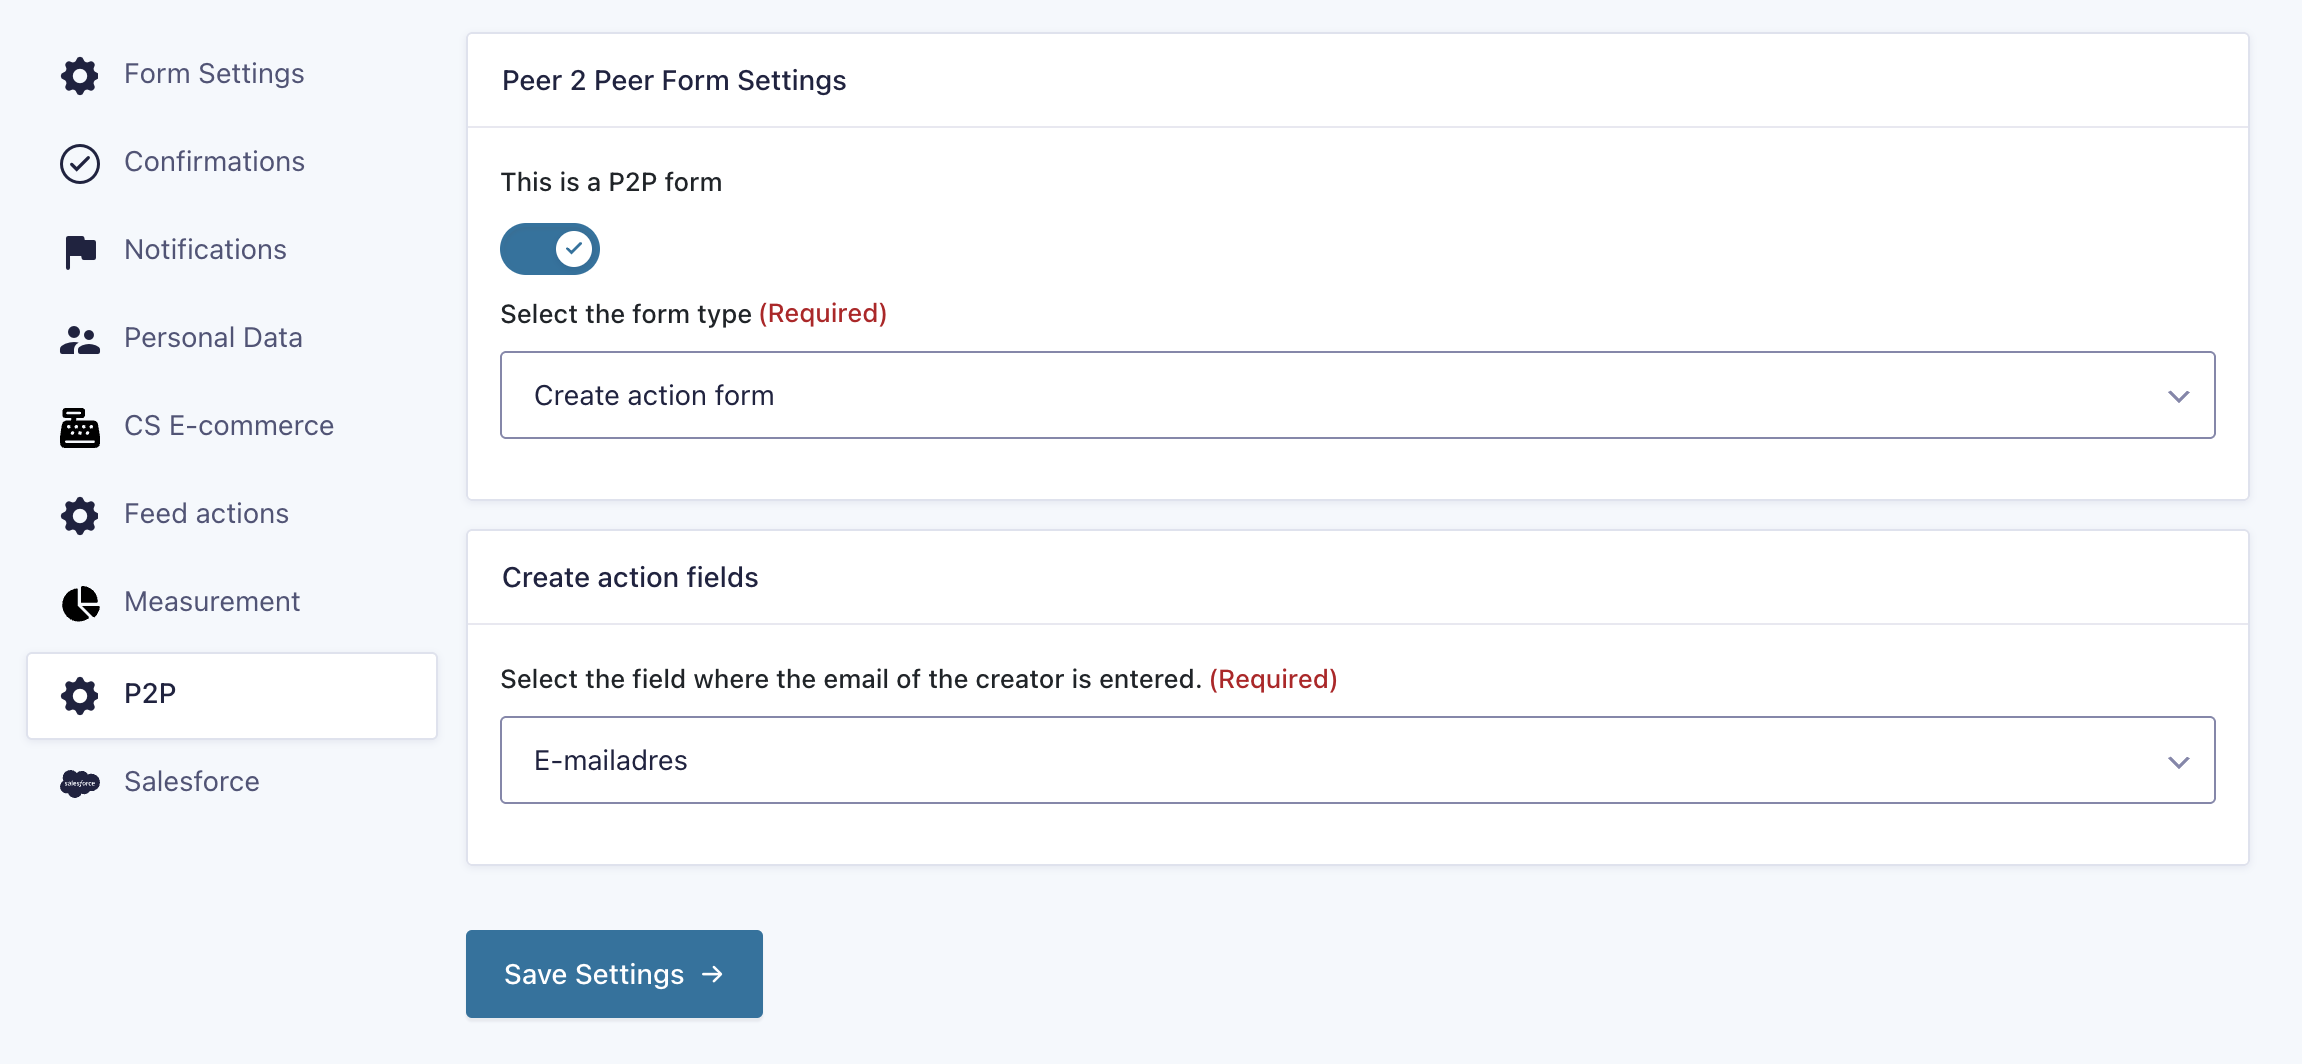
Go to Settings > P2P on the gravity form that used to create the Actions.
- Turn on the
This is a P2P formtoggle - In the
Select the form typedropdown select Create action form - The
Create action fieldsection should appear. Select a field in theSelect the field where the email of the creator is entered.dropdown. This is most likely the email field in the form.
Authenticate form
This is the form that is used to authenticate the user by entering the email that they have used to create the action. This looks up the entry and checks the field selected in the previous step to determine if the user has entered the correct email. Create a new form and add at least one field that matches the field selected in the previous step (probably an "email" field).
If properly setup, this form checks the entered field against the field that is used to create an action. If an email is entered that doesn't match, the entry is marked as spam and all action & notifications are disabled. The confirmation is not changed, so a user can't see if a correct value is entered based on the confirmation.
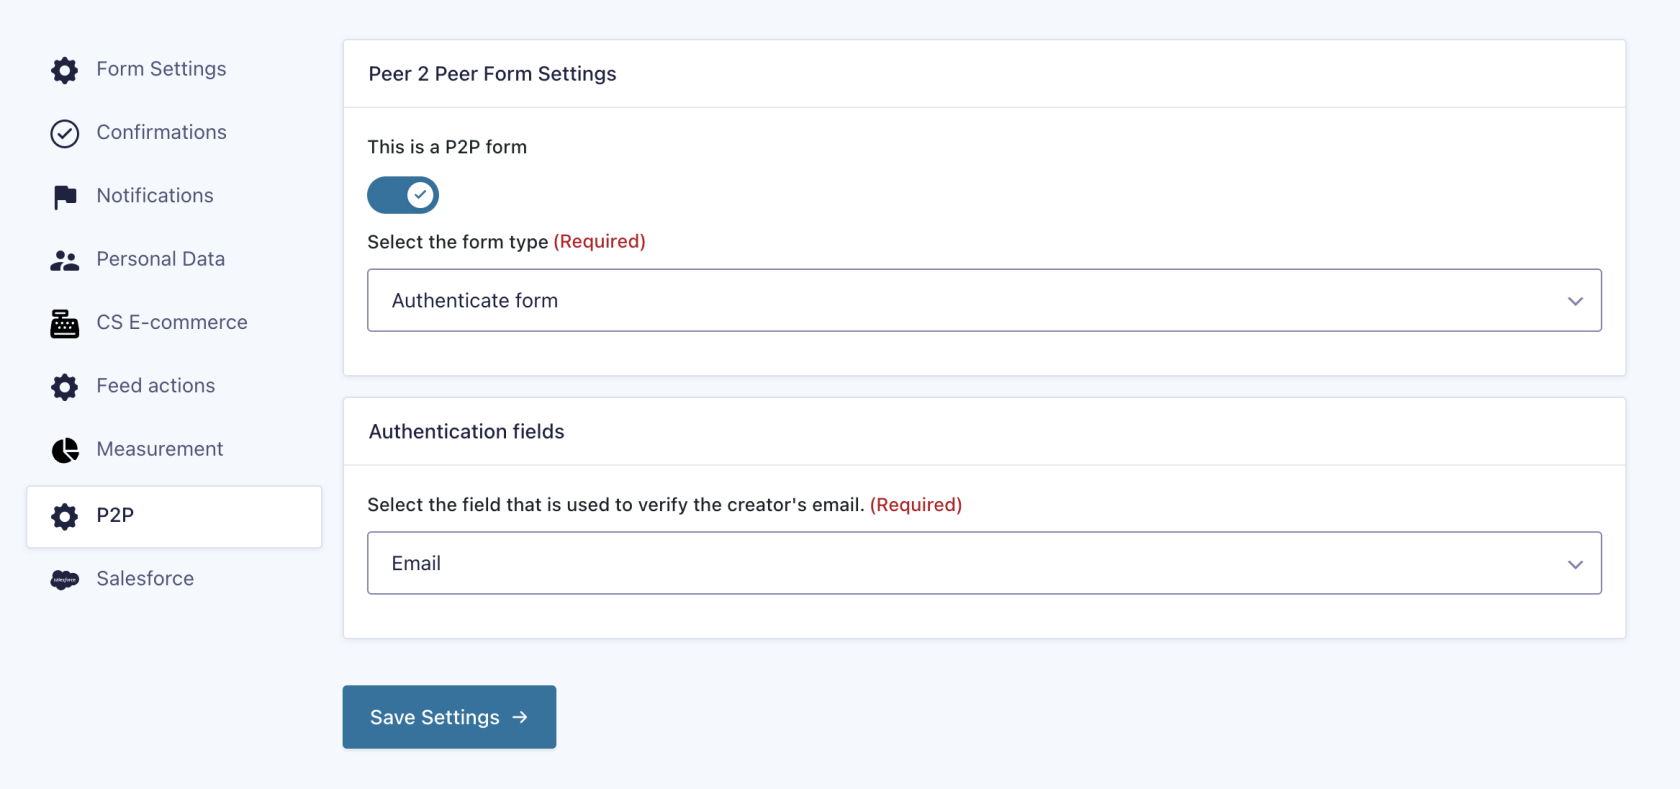
To set up the form go to Settings > P2P on the gravity form that used to create the Actions.
- Turn on the
This is a P2P formtoggle - In the
Select the form typedropdown select Authenticate form - The
Authentication fieldssection should appear. Select a field in theSelect the field that is used to verify the creator's email.dropdown. This is most likely the only field in the form.
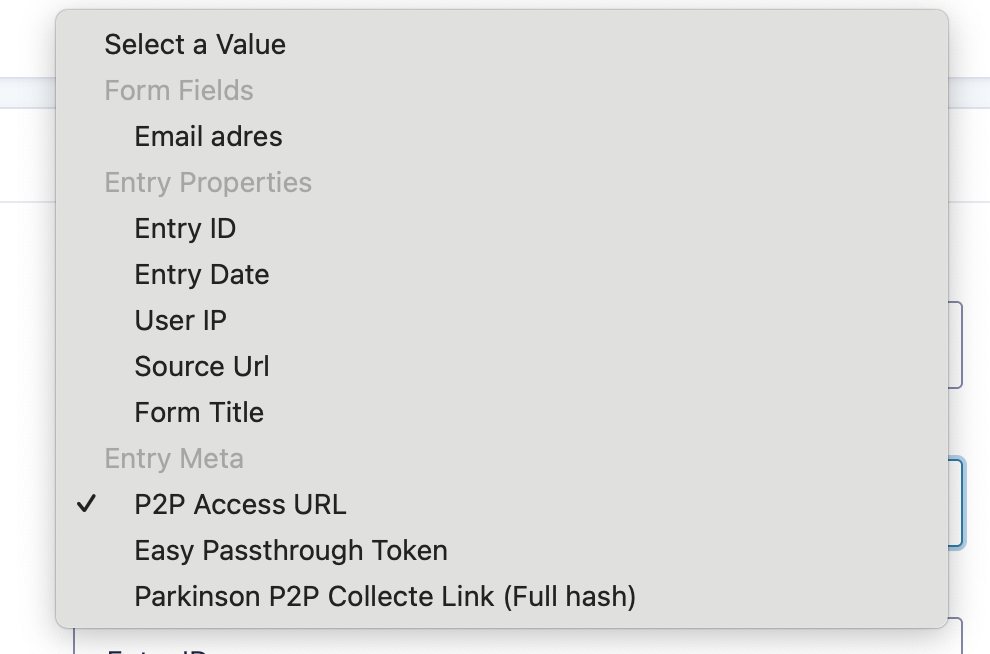
If a user successfully authenticates the P2P Access URL meta field is filled with the full URL that gives access to the edit form. This meta field can be used in custom (feed) actions to send to the user.
Update action form
Create a form that has a field for all the content you want users to be able to update. Current supported fields that can be added are:
- Content (the main content of the action)
- Target amount (used in the counters)
In most cases the field will be duplicates of these fields that are used in the create acton form.
Pre-fill setup
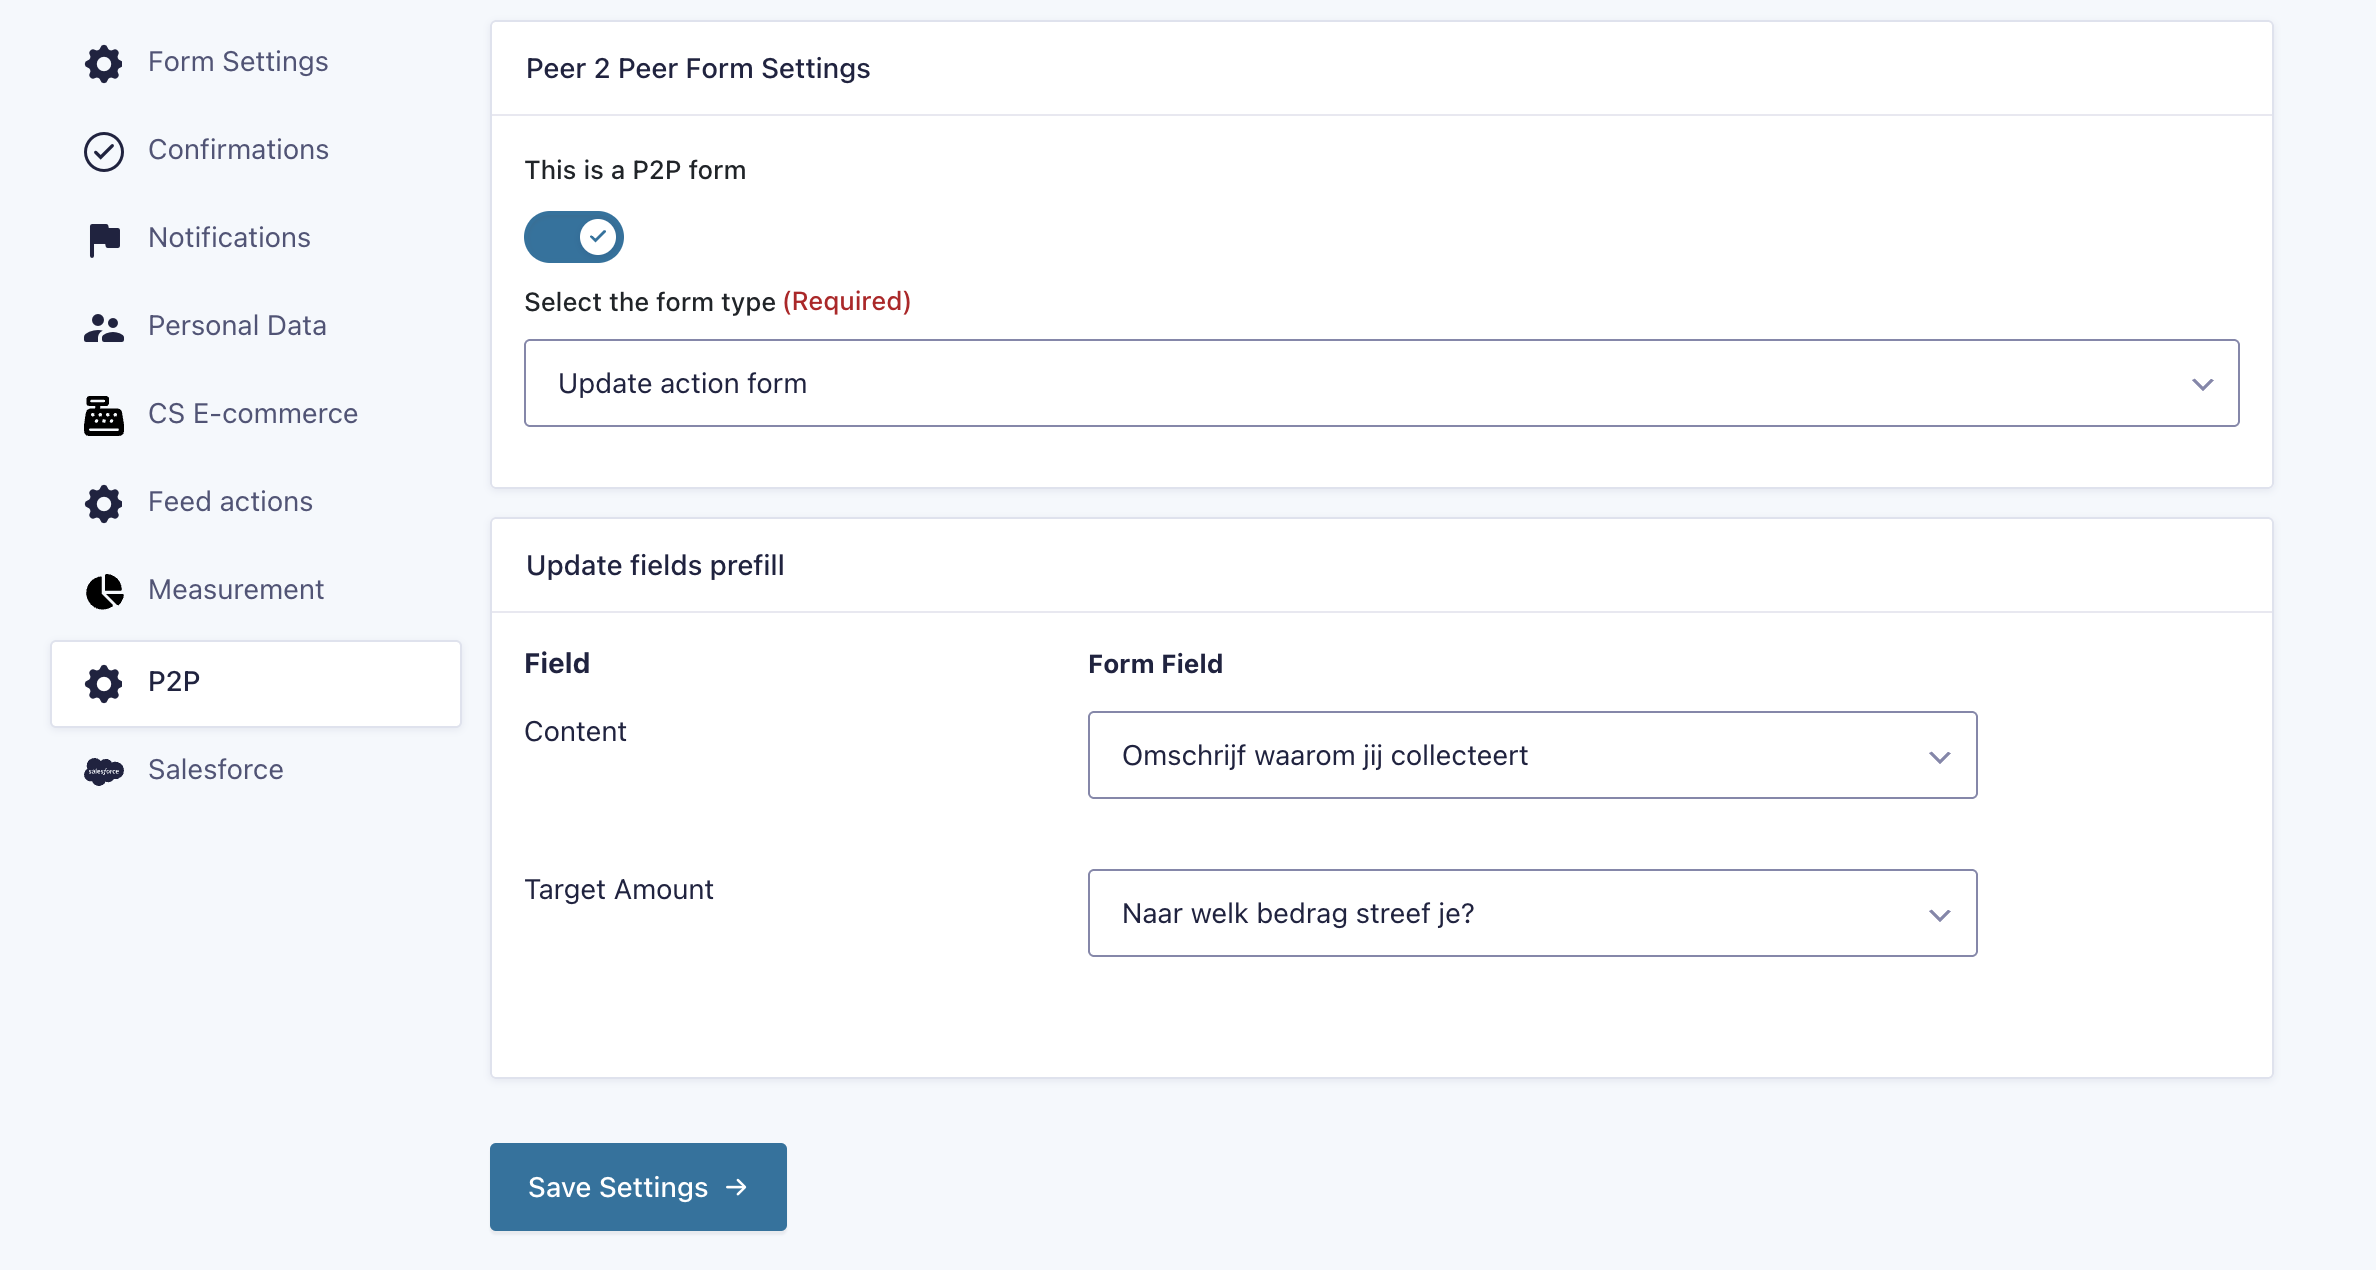
To setup pre-filling for these fields go to Settings > P2P on the gravity form that used to create the Actions.
- Turn on the
This is a P2P formtoggle - In the
Select the form typedropdown select Update action form - The
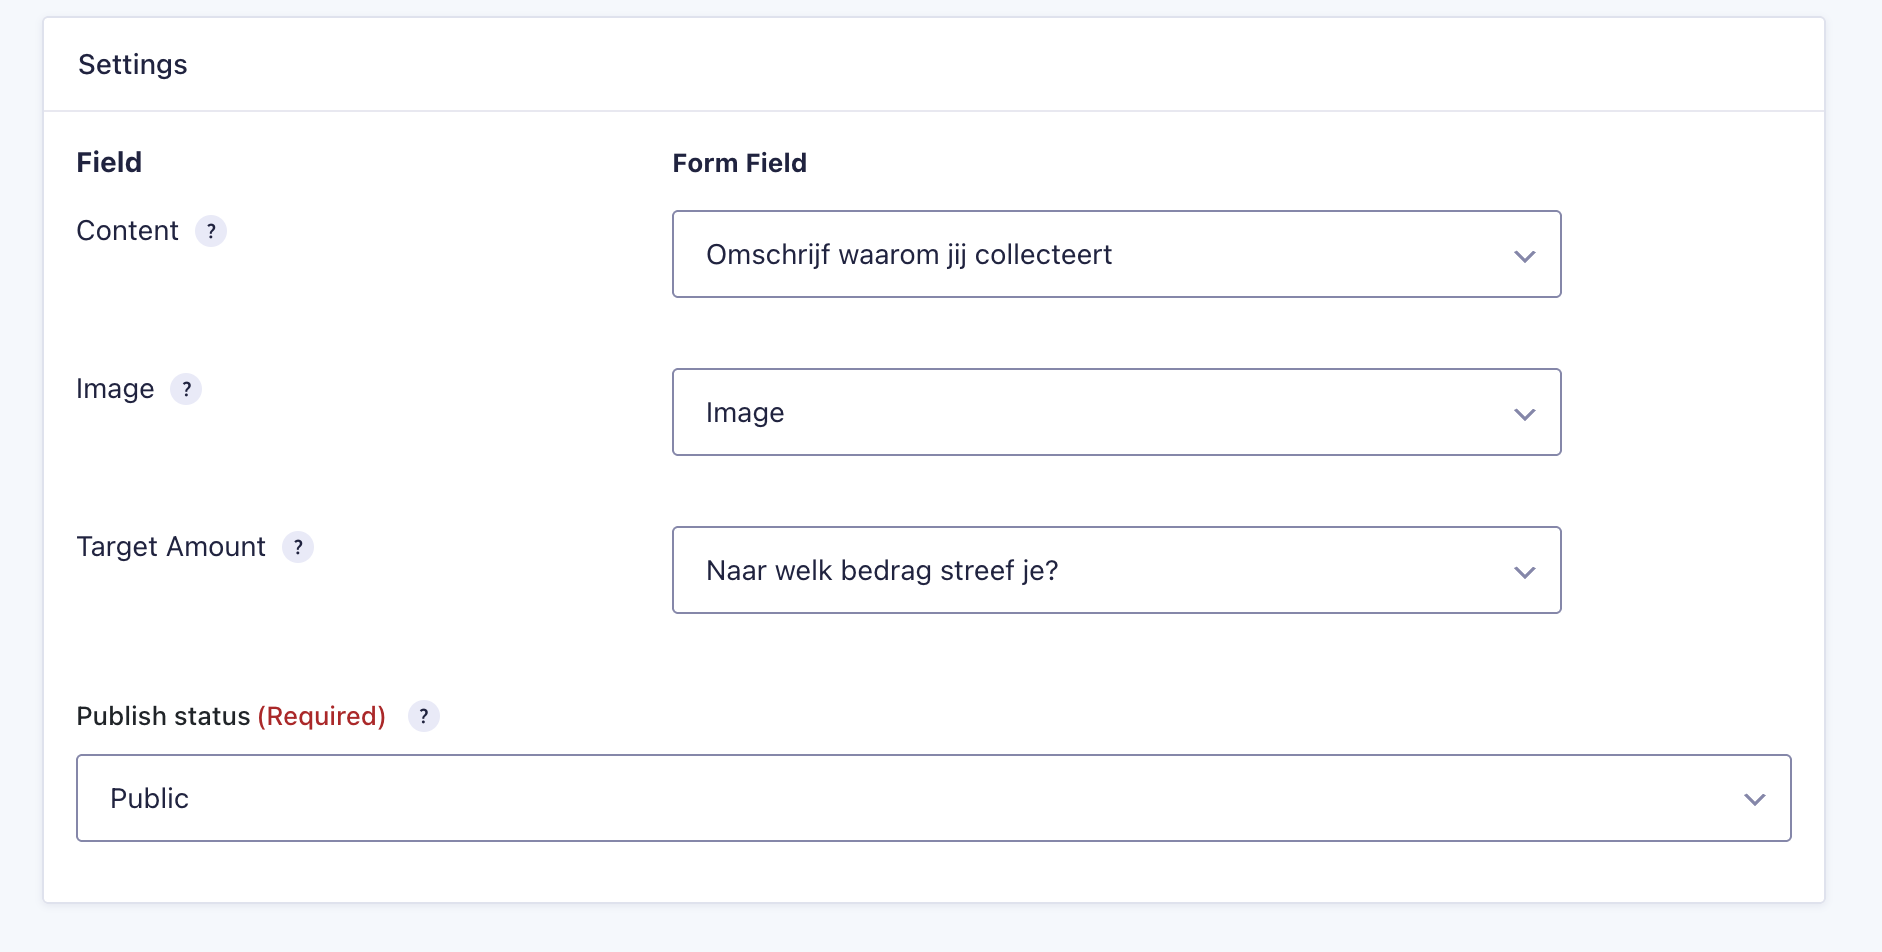
Update fields prefillsection should appear. Select for each type what field should be pre-filled with the current value.
Update data
In most cases data needs to be updated on both Salesforce and in the port type. So two feed actions need to be create for these updates.
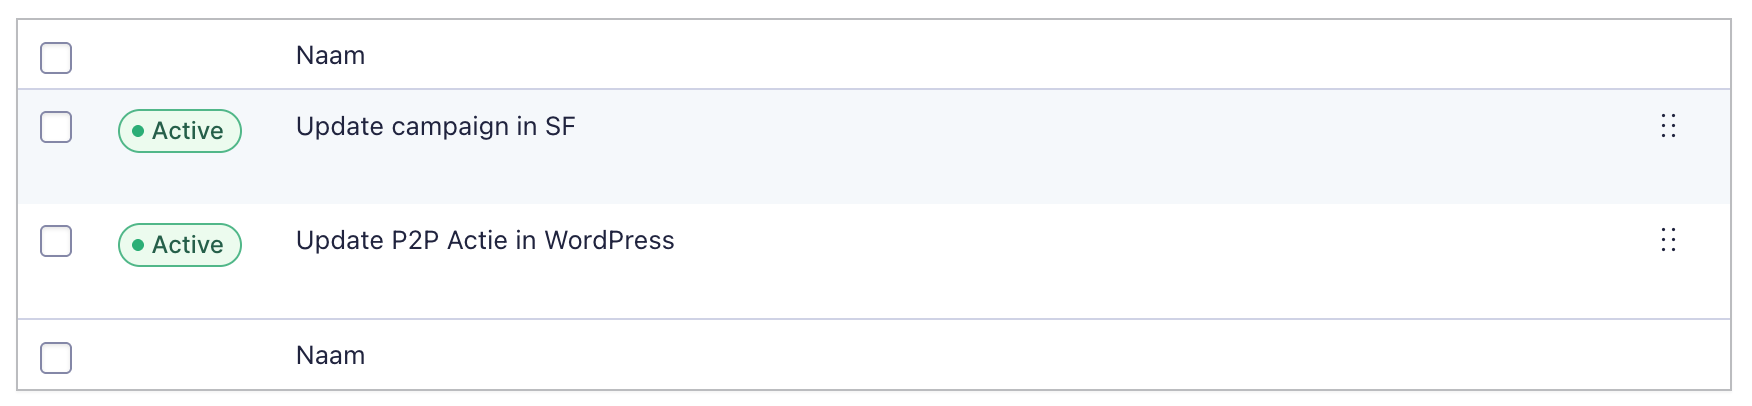
To let the form update salesforce date (like the target amount) set up a feed action with a Update or create record in Salesforce action. To update the correct campaign, an extra meta field is added by the plugin with the campaign ID of the campaign linked to the action: Action External ID

To let these field also update the post type, create a new feed action with the P2P | Update an Action type. If the feed action is saved once, a Settings panel will be shown with options to map these fields to the right content.